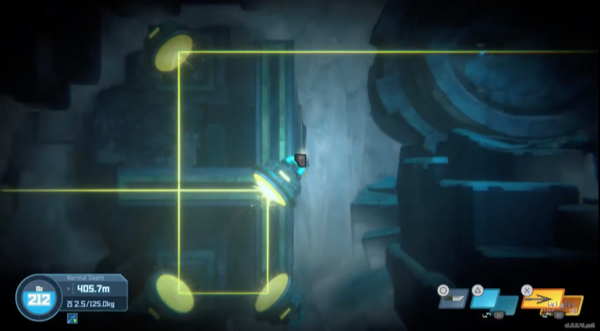
1つ目のパズル
先に進むには、
- 右下にある建木の実をレーザー装置に設置
- 真ん中の円形の鏡を動かしてレーザーを上に反射させる
- 上の円形の鏡を動かして、レーザーを右に反射させる
でOKです。


下にある金色魚の欠片を取る場合は、右の黄青スイッチにレーザーが当たるようにします。
黄青スイッチを押して、下の円形の鏡の角度を変えればOK。


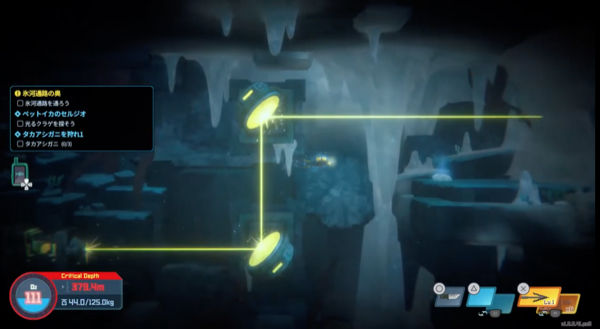
2つ目のパズル
- 建木の実をレーザー装置に入れる
- 1つ目の円形の鏡を上に反射
- 2つ目の円形の鏡を左に反射
- 3つ目の円形の鏡を上に反射
- 4つ目の円形の鏡を左に反射
すれば、先の氷が溶けます。
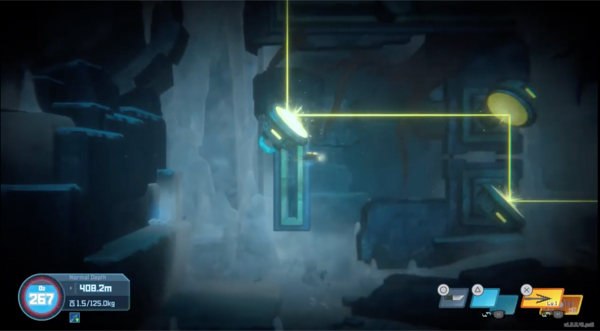
次のエリアはぐるっとレーザーが回るように円形の鏡を移動させればOKです。